
Understanding CNC Machining Basics Relevant to Design
When designing parts for CNC machining, it’s essential to grasp the fundamentals of the main machining processes. The most common methods include 3-axis and 5-axis milling, CNC turning, and advanced multi-axis machining.
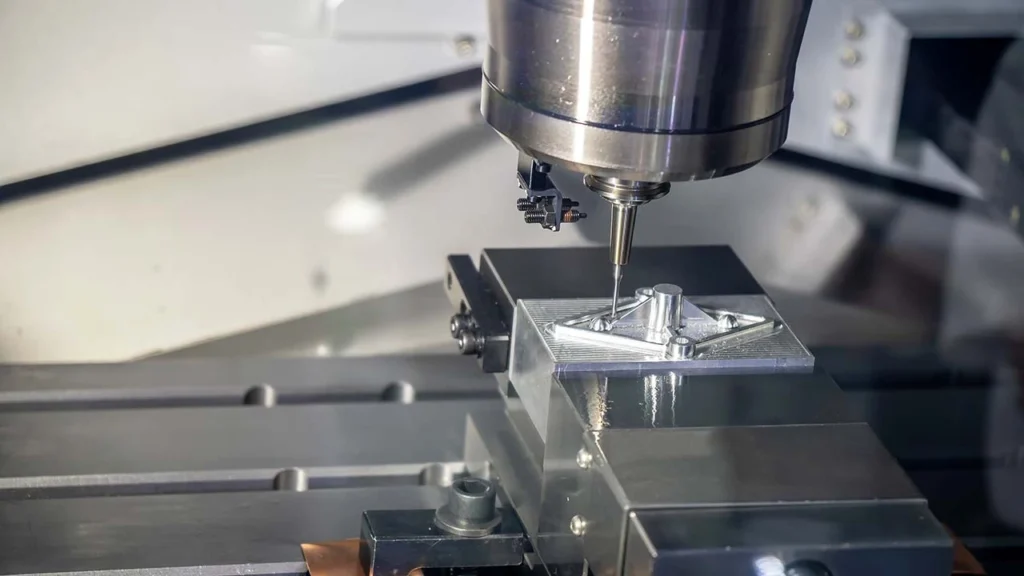
- 3-axis milling moves the cutting tool along the X, Y, and Z axes, ideal for simpler shapes and features.
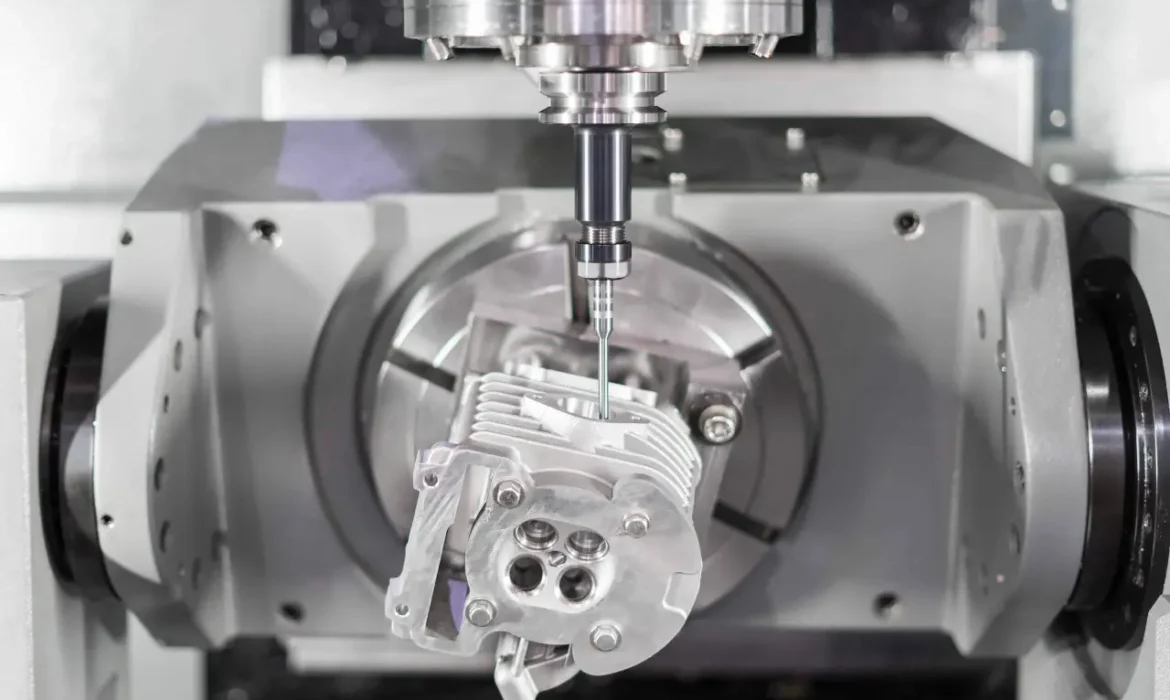
- 5-axis milling adds rotational movement, allowing complex geometries and undercuts without repositioning the part.
- CNC turning spins the part while a stationary tool shapes external and internal cylindrical features.
- Multi-axis machining combines these motions, enabling intricate parts with fewer setups.
Design decisions are heavily influenced by how the tool can access the workpiece and how the part is fixtured during machining. Efficient tool access minimizes costly secondary operations. Your design should consider material removal rates and avoid features that trap tools or cause excessive cutting forces.
Material choice also plays a critical role in your CNC machining design guidelines:
- Aluminum is lightweight, easy to machine, and excellent for tight tolerance parts.
- Steel offers strength but requires more careful design to manage tool wear and heat.
- Plastics vary widely but generally need thicker walls to avoid deformation.
Each material impacts wall thickness, corner radii, and tool selection rules differently, so tailor your design to balance machinability and material properties. Understanding these basics helps you create parts optimized for cost-effective and reliable CNC machining.
Core Design Principles for Machinability
When designing parts for CNC machining, keeping core principles in mind helps avoid costly mistakes and ensures smooth production.
Wall Thickness Recommendations
- Metals generally need a minimum wall thickness of about 0.040” to 0.080” to prevent unwanted bending or breakage during machining.
- Plastics require slightly thicker walls—usually 0.060” or more—because they are less rigid and more prone to deflection.
- Thin walls can cause vibration and poor surface quality, so supporting features properly is key.
Internal Corners and Radii
- Avoid sharp internal corners; they cause stress concentration and are tough to machine.
- A good rule is to use a radius at least one-third the diameter of the cutting tool. This lets the tool move smoothly and reduces wear.
Pocket and Cavity Depth Limits
- Limiting cavity depth helps maintain tool rigidity. A depth between 3 to 6 times the tool diameter is generally ideal.
- Going deeper risks tool deflection and chatter, which degrades surface finish and precision.
Hole Design Tips
- Aim for a depth-to-diameter ratio of no more than 5:1 to avoid tool breakage or poor hole quality.
- Avoid flat-bottom holes when possible; slightly radiused or chamfered bottoms help tools exit cleanly.
- Adding chamfers on hole entrances makes tool engagement easier and reduces burrs, improving final part quality.
Applying these design rules for CNC machining lays a solid foundation for manufacturability, minimizing delays and extra costs. For more material-specific guidance, check out this overview of common metals and plastics for machined metal parts and plastics machining processes.
Feature-Specific Guidelines for CNC Machining Design

When designing parts for CNC machining, some features require special attention to ensure manufacturability and cost efficiency.
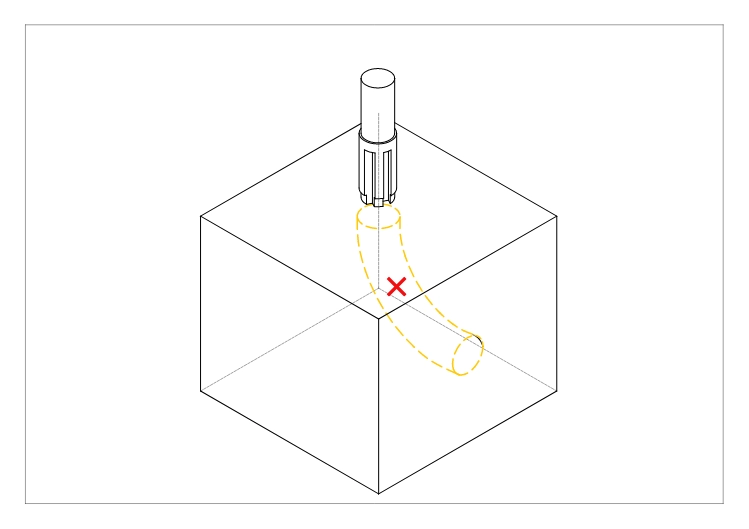
Undercuts and Complex Geometries
Undercuts often demand special tooling or extra setups, which can drive up costs. When possible, opt for alternatives like dogbone fillets in T-slots to maintain strength while simplifying machining. Complex shapes should be minimized or planned carefully to avoid expensive multi-axis machining unless necessary. For advanced needs, exploring special CNC machining processes can help balance complexity with cost.
Threads and Tapped Holes
Stick to standard thread sizes to keep tooling simple and costs down. Avoid very small threads that require specialized taps or custom machining, as these can lead to higher scrap rates and longer production times. Pre-machining allowances, like adding extra material for thread cutting, improve thread quality and are critical for consistent results.
Fillets and Chamfers
Incorporate fillets to reduce stress concentrations and enhance part strength—internal fillets prevent crack formation, while external fillets ease handling and improve assembly fit. Standard corner radii should generally be at least one-third of the tool diameter to avoid sharp edges that are hard to machine. Chamfers make part loading and assembly easier, and also help prevent damage to edges.
Thin Features and Protrusions
Avoid overly thin walls and long, slender protrusions without proper support, as these are prone to vibration and deflection during machining. This can cause poor surface finishes and dimensional inaccuracy. Always design thin features with support ribs or minimize their length to ensure stability during the cutting process.
By following these feature-specific guidelines, you’ll optimize parts for machining, reduce manufacturing issues, and maintain cost-effective production.
Tolerances and Surface Finish Considerations
When designing for CNC machining, setting realistic tolerances is key. Standard tolerances keep costs down, while tight tolerances often mean more machine time and higher expenses. For most parts, aiming for standard tolerance ranges is enough unless your application demands precision.
Using Geometric Dimensioning and Tolerancing (GD&T) helps communicate critical features clearly, ensuring the CNC operator understands your design intent. GD&T also improves manufacturability by focusing tolerance controls where they matter most on the part.
Surface finish is another important factor. Design features like sharp corners or deep pockets can limit the achievable roughness average (Ra) without extra finishing steps. By avoiding overly tight surface finish specs and complex details, you save cost and time. Consider how your design impacts finish quality, aiming for machinable surface textures that don’t require secondary operations.
Keeping tolerances and surface finish balanced with your function ensures efficient production and a quality CNC-machined part.
Material and Process Optimization
Choosing the right material is a key part of optimizing your design for machining. Free-machining alloys like certain grades of aluminum or carbon steel make the process smoother and more cost-effective compared to harder materials like stainless steel or Inconel. For instance, if your design uses aluminum, working with an experienced aluminum machining parts manufacturer can help ensure better machinability and faster turnaround.
Designing parts to minimize setups also saves time and money. Whenever possible, aim for single-side machining where all features are accessible from one side. Multi-side machining means flipping or reorienting the part multiple times, which adds complexity and cost. Reducing these reorientations streamlines production and decreases risk of errors.
Your approach should also vary depending on run size. For high-volume production, you can use looser design rules that favor faster machining and easier setups without compromising function. On the other hand, prototypes or low-volume runs often require tighter tolerances and more precise features, so design with these trade-offs in mind.
Balancing material choice and process planning upfront is one of the best ways to optimize your design for CNC machining, improve efficiency, and keep costs down.
Common Design Mistakes and How to Avoid Them
When designing parts for CNC machining, avoiding common pitfalls is key to keeping costs down and schedules on track. Here are frequent design mistakes and tips to prevent them:
- Over-specifying tolerances or requesting custom tools: Tight tolerances can significantly increase machining time and cost. Whenever possible, stick to standard, industry-accepted tolerances unless the function absolutely demands precision. Custom tooling pushes prices and lead times, so try to design for standard cutter sizes and shapes.
- Designing inaccessible or impossible-to-machine features: Avoid creating deep pockets, narrow slots, or complex internal grooves that standard tools can’t easily reach. These areas often require specialty tooling or multiple setups, driving up expenses. Always consider tool access and fixturing early in your design.
- Ignoring tool paths and machining dynamics: Features like deep, narrow slots or excessive material removal can cause tool deflection and chatter, leading to poor surface finishes or tool breakage. Make sure your design respects typical depth-to-diameter ratios (often not exceeding 3-6 times the tool diameter) to maintain stable cutting.
- Case examples with cost and time savings: For instance, changing sharp internal corners to a radius sized at least one-third of the tool diameter can eliminate the need for custom tools. Simplifying a pocket depth or replacing undercuts with dogbone features can reduce setups and tooling costs drastically. These small design shifts often save hours on the shop floor and reduce part costs by 20-50%.
Optimizing your design for machinability is crucial. To get practical guidance on how materials and machining services fit within these strategies, consider reviewing expert machining solutions like precision shafts, rods, and mandrels or custom CNC machining services that highlight best practices in tool access and feature design.
Following these design-for-machining guidelines ensures your parts are not only doable but cost-effective, leading to faster turnaround and better quality results.
Advanced Tips for Cost Reduction and Efficiency
When designing for CNC machining, keeping costs down while ensuring efficiency is key. One of the smartest moves is to stick with standard tooling sizes. Custom tools can drive up expenses and lead times, so designing parts that fit common tool diameters and lengths saves both money and hassle.
Incorporating draft angles or reliefs where possible also helps. These small design tweaks make parts easier to machine and reduce tool wear. For example, a slight draft on vertical walls can prevent sticking and improve tool access, speeding up production.
Balancing aesthetics, function, and manufacturability is another must. Sometimes a tiny design change can enhance machinability without sacrificing looks or performance. Always think about how a design feature will affect machining time and complexity.
Before finalizing your CAD model, consider using simulation or Design for Manufacturability (DFM) software. These tools help spot potential issues early—like tool collisions or hard-to-reach features—so you can optimize the design for smoother, faster manufacturing.
Applying these strategies will make your CNC machining projects more cost-effective and efficient, especially when producing complex or high-volume parts.
For specialized needs, check out how we manufacture components of stainless steel with optimized CNC processes for tough materials.